

iOps360 can manage your Ride Along staff such as Students or Employees that want to complete Ride Time. This is done using a special logins that can allow editing of designated positions.
Position Setup
First we will create one or more Ride Along positions such as “Engine1-RideAlong”. If you already have ride along positions setup, skip to the next section.
Let’s navigate to System Config -> Positions -> Positions Setup.

Click on the green button “Create New Position“
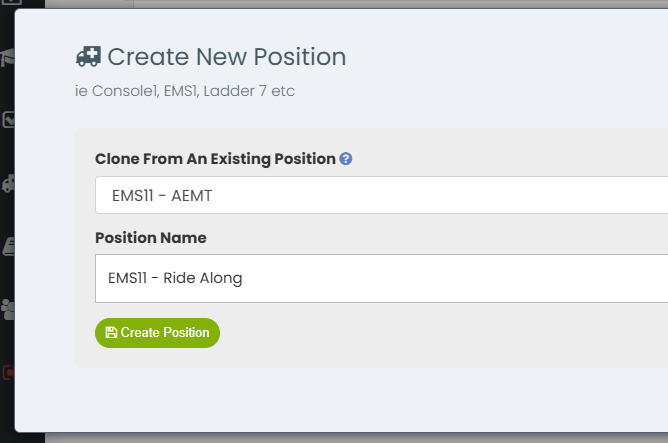
Click the green “Create Position” button. This will create the position and return you to the Position Details page.
Set the Position color and icon as needed on the Demographics tab.
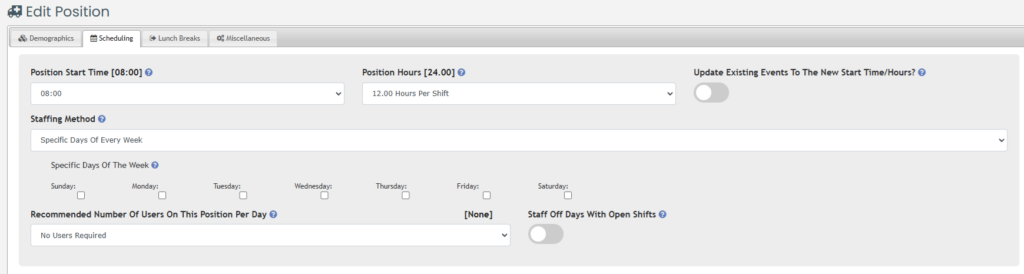
Click on the “Scheduling” tab.
We will configure the position to not create events every day since this will clutter the calendars.
Set the “Staffing Method” to “Specific Days Of Every Week“. Un-select any days of the week.
Ensure “No Users Required” under the Recommended Number of Users / Day.
Ensure “Staff Off Days With Open Shifts” is Not enabled.
Lastly, click on “Miscellaneous” tab and Enable “Always Display Position Notes“
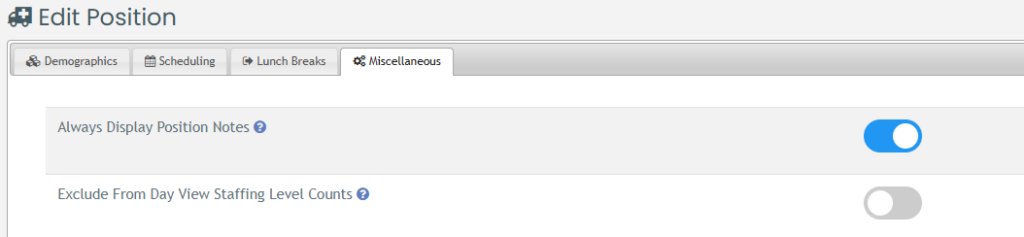
Click “Save Position” to complete this step. Repeat as needed for additional positions.
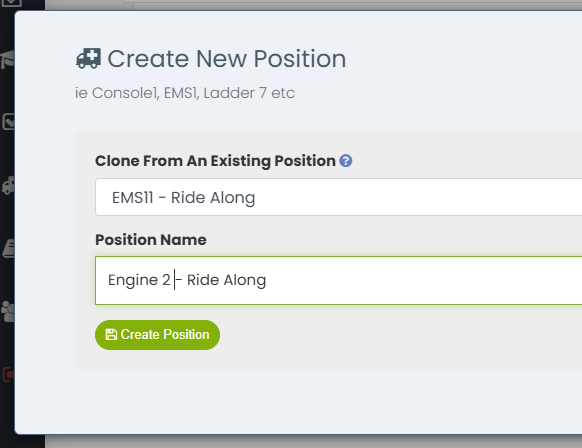
TIP: If you are creating several ride along positions, (ie one for each apparatus), Create the first one and then use it to Clone for the remaining positions.
Position Ordering
Once all Ride Along positions have been created, be sure to set the Ordering of your positions using our Drag And Drop tool.

From System Config -> Positions -> Positions Setup, Click the “Position Ordering” in the top right corner. New positions are automatically sorted at the bottom of the positions for each Base/Station. Adjust as needed by Dragging the positions into the correct order.
Manual Schedule Updates
Now that the positions are created, these will be available for Admin Staff to begin assigning students. Simply leave the User blank and enter the student details in the Notes/Description fields such as “RCCC – Lastname, Firstname EMT student”.
Creating Ride Along Login / Password
If an outside entity/college will be managing the positions, you can create a designated login for each entity. The login will allow editing of only the designated positions. This login will allow the entity to created, edit and delete positions so ensure that ONLY ride along positions are selected during the next step.
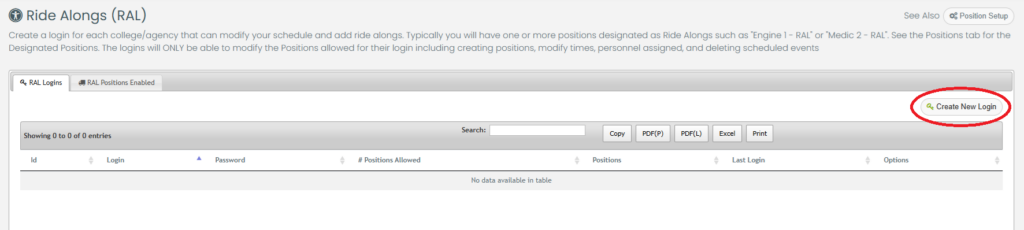
Click on System Config -> Scheduling -> Ride Alongs.

Click on the “Create New Login” button in the top right. This login will not count towards your user accounts/quotas.
Enter the Login name for this account. The password will be auto generated in a moment. Click “Save” to create the RAL account.
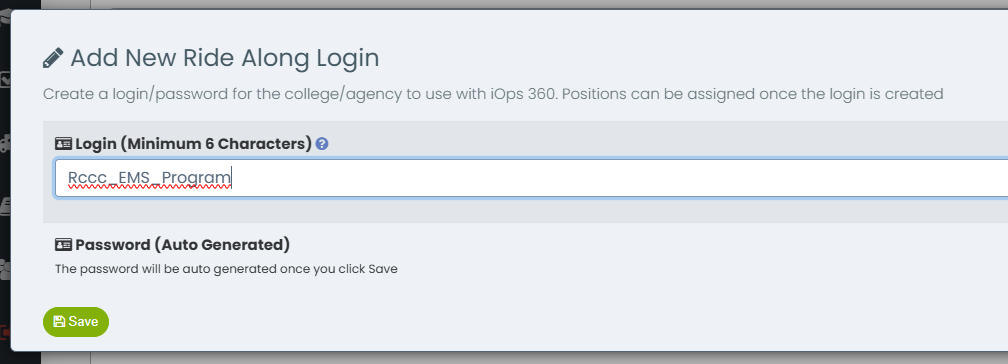
The login will be created and a secure password assigned. See the header message for the Password or click the link “Hidden – Click To Reveal” from the table.

You can revoke this access anytime by navigating to this page and click the button “Edit/Delete” next to the corresponding login.
Next, we will assign which positions this login can manage.
Assigning Positions This Login Can Manage
Click on System Config -> Scheduling -> Ride Alongs. Next to each login, click the button “Edit Positions“. A popup will appear and you can select which positions this login can modify. This will allow the login to Create, Edit and Delete any scheduled events for the selected positions. Ensure you do NOT allow this login to manage staff positions.


Once completed, provide the Login and Password for the Ride Along Account to the entity needed. Include a link to this help guide for any questions also. If they forget the password, this can be retrieved by returning the the Ride Along feature in System Config, and click the “Hidden – Click to Reveal” in the password column.
Scheduling Ride Alongs
Navigate to the iOps360 login page and use the credentials above. This will allow the agency to Create, Edit and Delete any Ride Alongs for the designated positions.
Enter the Ride Along’s name in the text block on the left. Modify the position/unit, start time and hours as needed. Once the details have been set, click on each date in the calendar to add the Ride Along to that date.
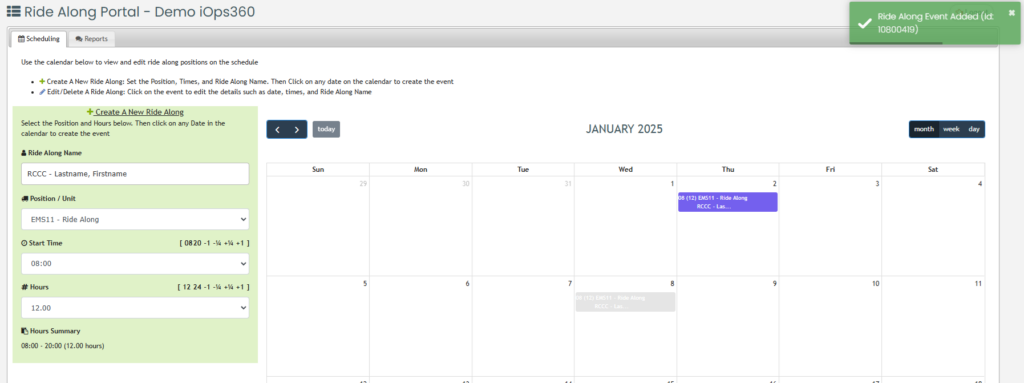
Enter the Ride Along’s name in the text block on the left. Modify the position/unit, start time and hours as needed. Once the details have been set, click on each date in the calendar to add the Ride Along to that date. To make any changes, you can either drag and drop the event to another date or click to edit the details.
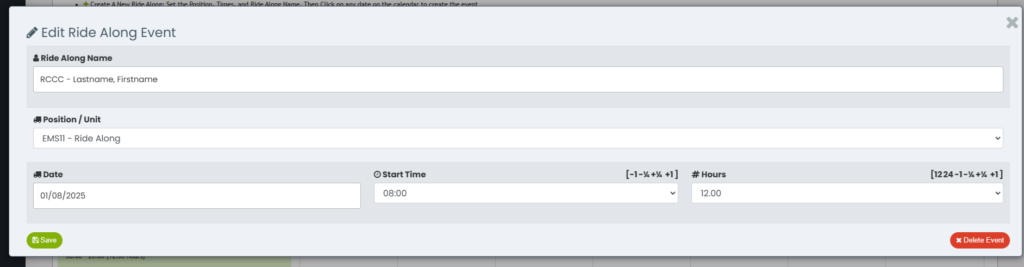
You can also change the view from Monthly to Weekly and Daily views. Editing controls are available in all of the views to click and edit any event, Delete any event and drag any event to another date.